Botanical Inspiration: Mulching And Helping Hands


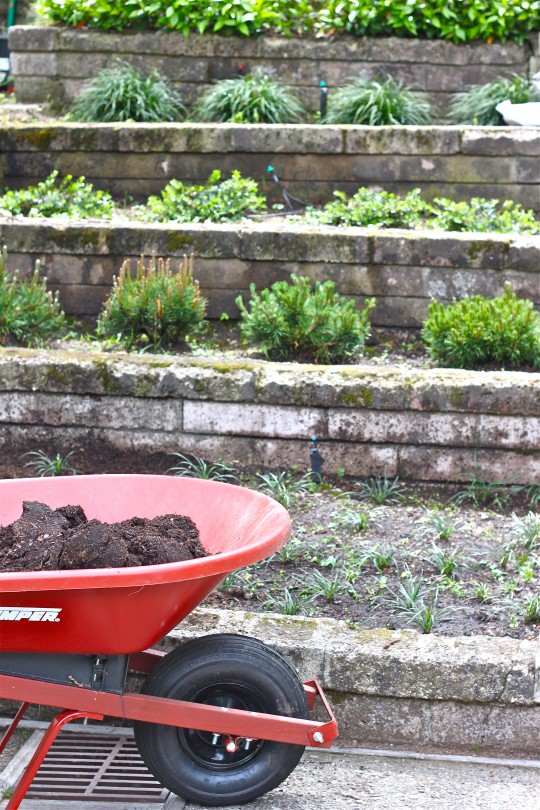
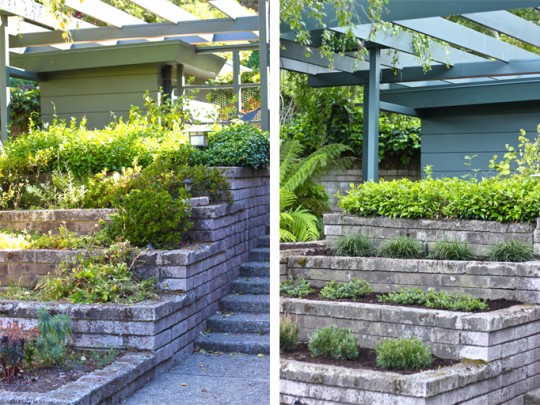
I suppose I inherited a love of yard work from my Dad.  In the beginning,  it was clearly a chore, i.e. raking, weeding, mulching, etc.  However, it didn't  take long for me to see it in a different light.  I began seeking out things to do in our garden, following my dad behind the mower raking grass clippings or selecting and planting flowers in our many beds.  That's why I'm delighted when I see our children are enjoying getting their hands in the soil, choosing plants in garden centers and, of course, watering.  Recently Zoe helped me mulch the tiered section of our entry steps.  In the original 1953 landscape plans a waterfall feature was intended for this space.  We chose to plant Mondo Grass, Dwarf  Red Pine, Manzanita and Jasmine instead.  The mulch around the plantings not only enhances the foliage color, but also keeps the soil moist and the weeds at bay.

As time passes, I look forward to seeing the tiers fill in and our children's interest in gardening grow.

I'm so grateful for my childhood experiences in the garden.  Thank you, Dad!

Have a great weekend!

Match Maker: Random Rooms And Their Perfect Botanical Matches.

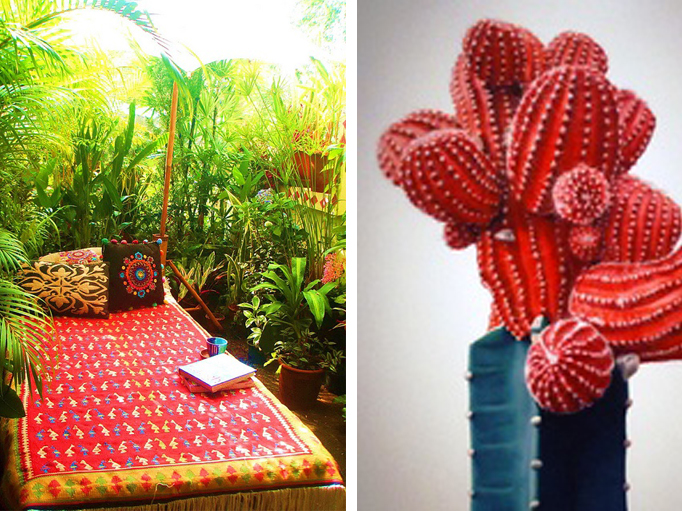
Botanical placement is as important as the layout of a space.  The shape, size and color of a vessel, as well as the type of plants selected for it, are an important extension of one's style.  Recently on Pinterest,  I noticed  that most of the room inspirations I pinned coordinated with botanical images  previously tagged.   Take a look at a few of my favorite matches:

If your spaces crave a much needed botanical lift, Cocoon Home Design can definitely help.  We specialize in custom planters and botanical placements for both interior and exterior spaces that enhance one's everyday life.  Contact debra@cocoonhome.com

Prototype: A DIY Vertical Garden Pallet

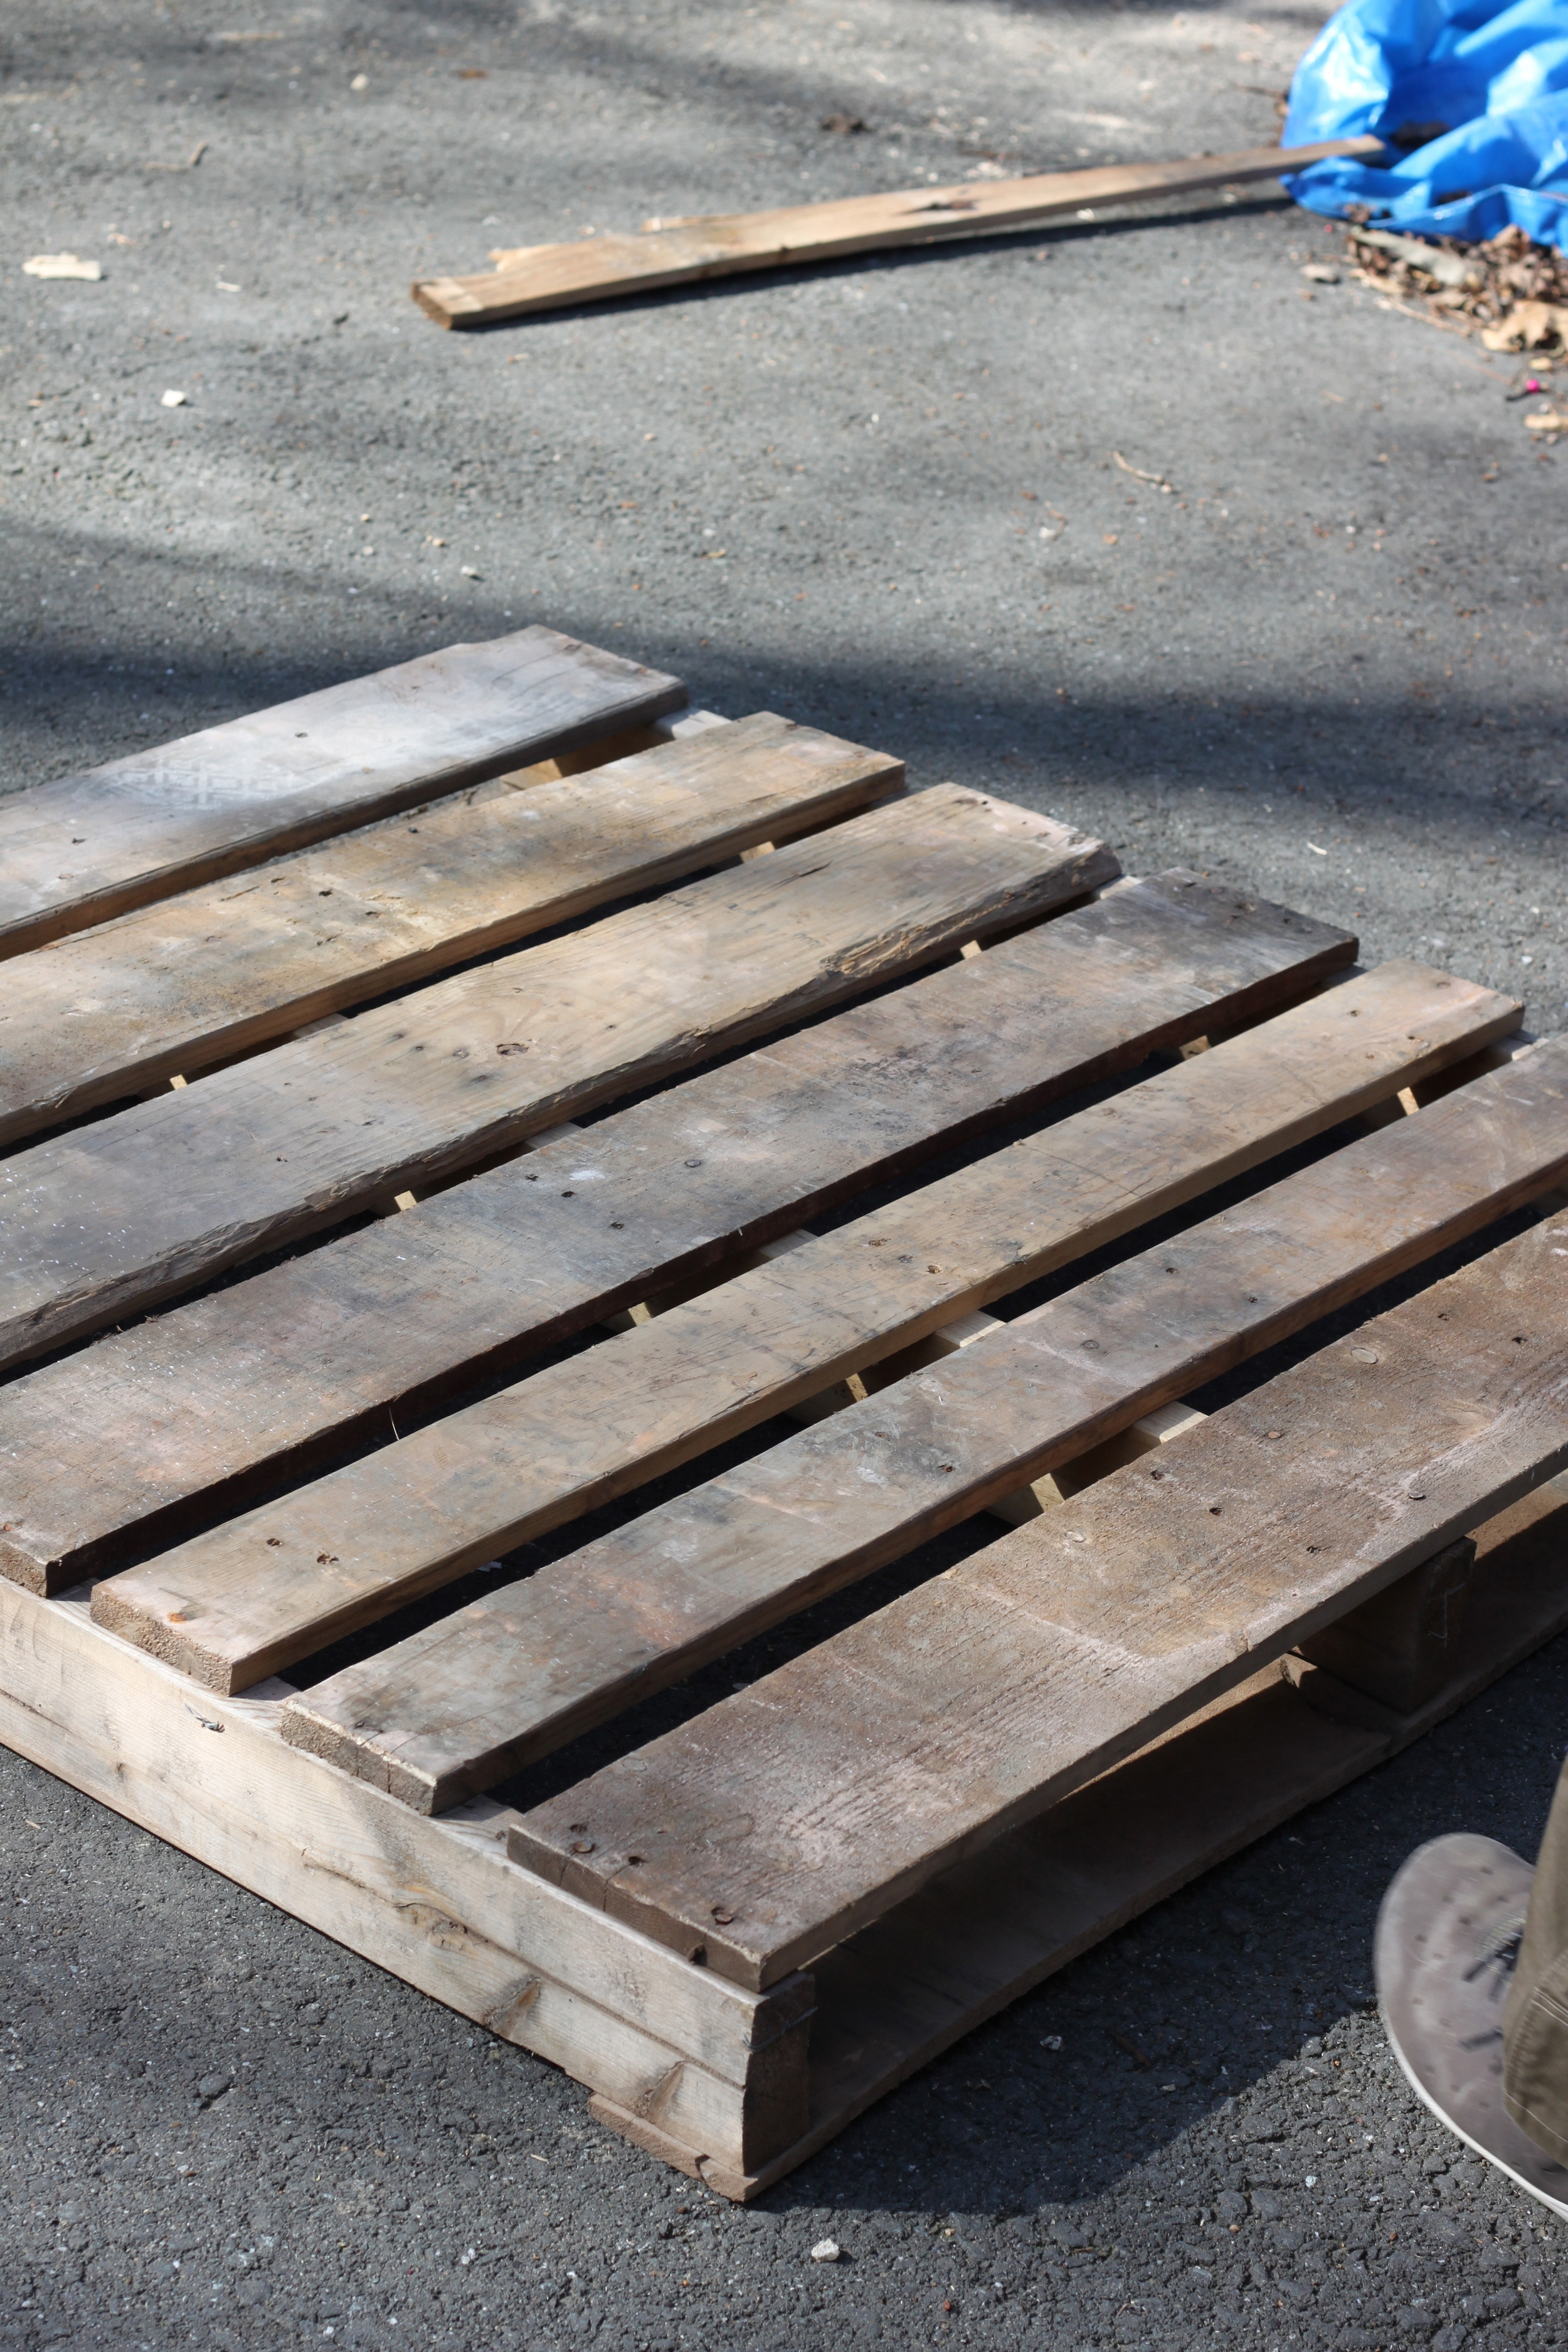
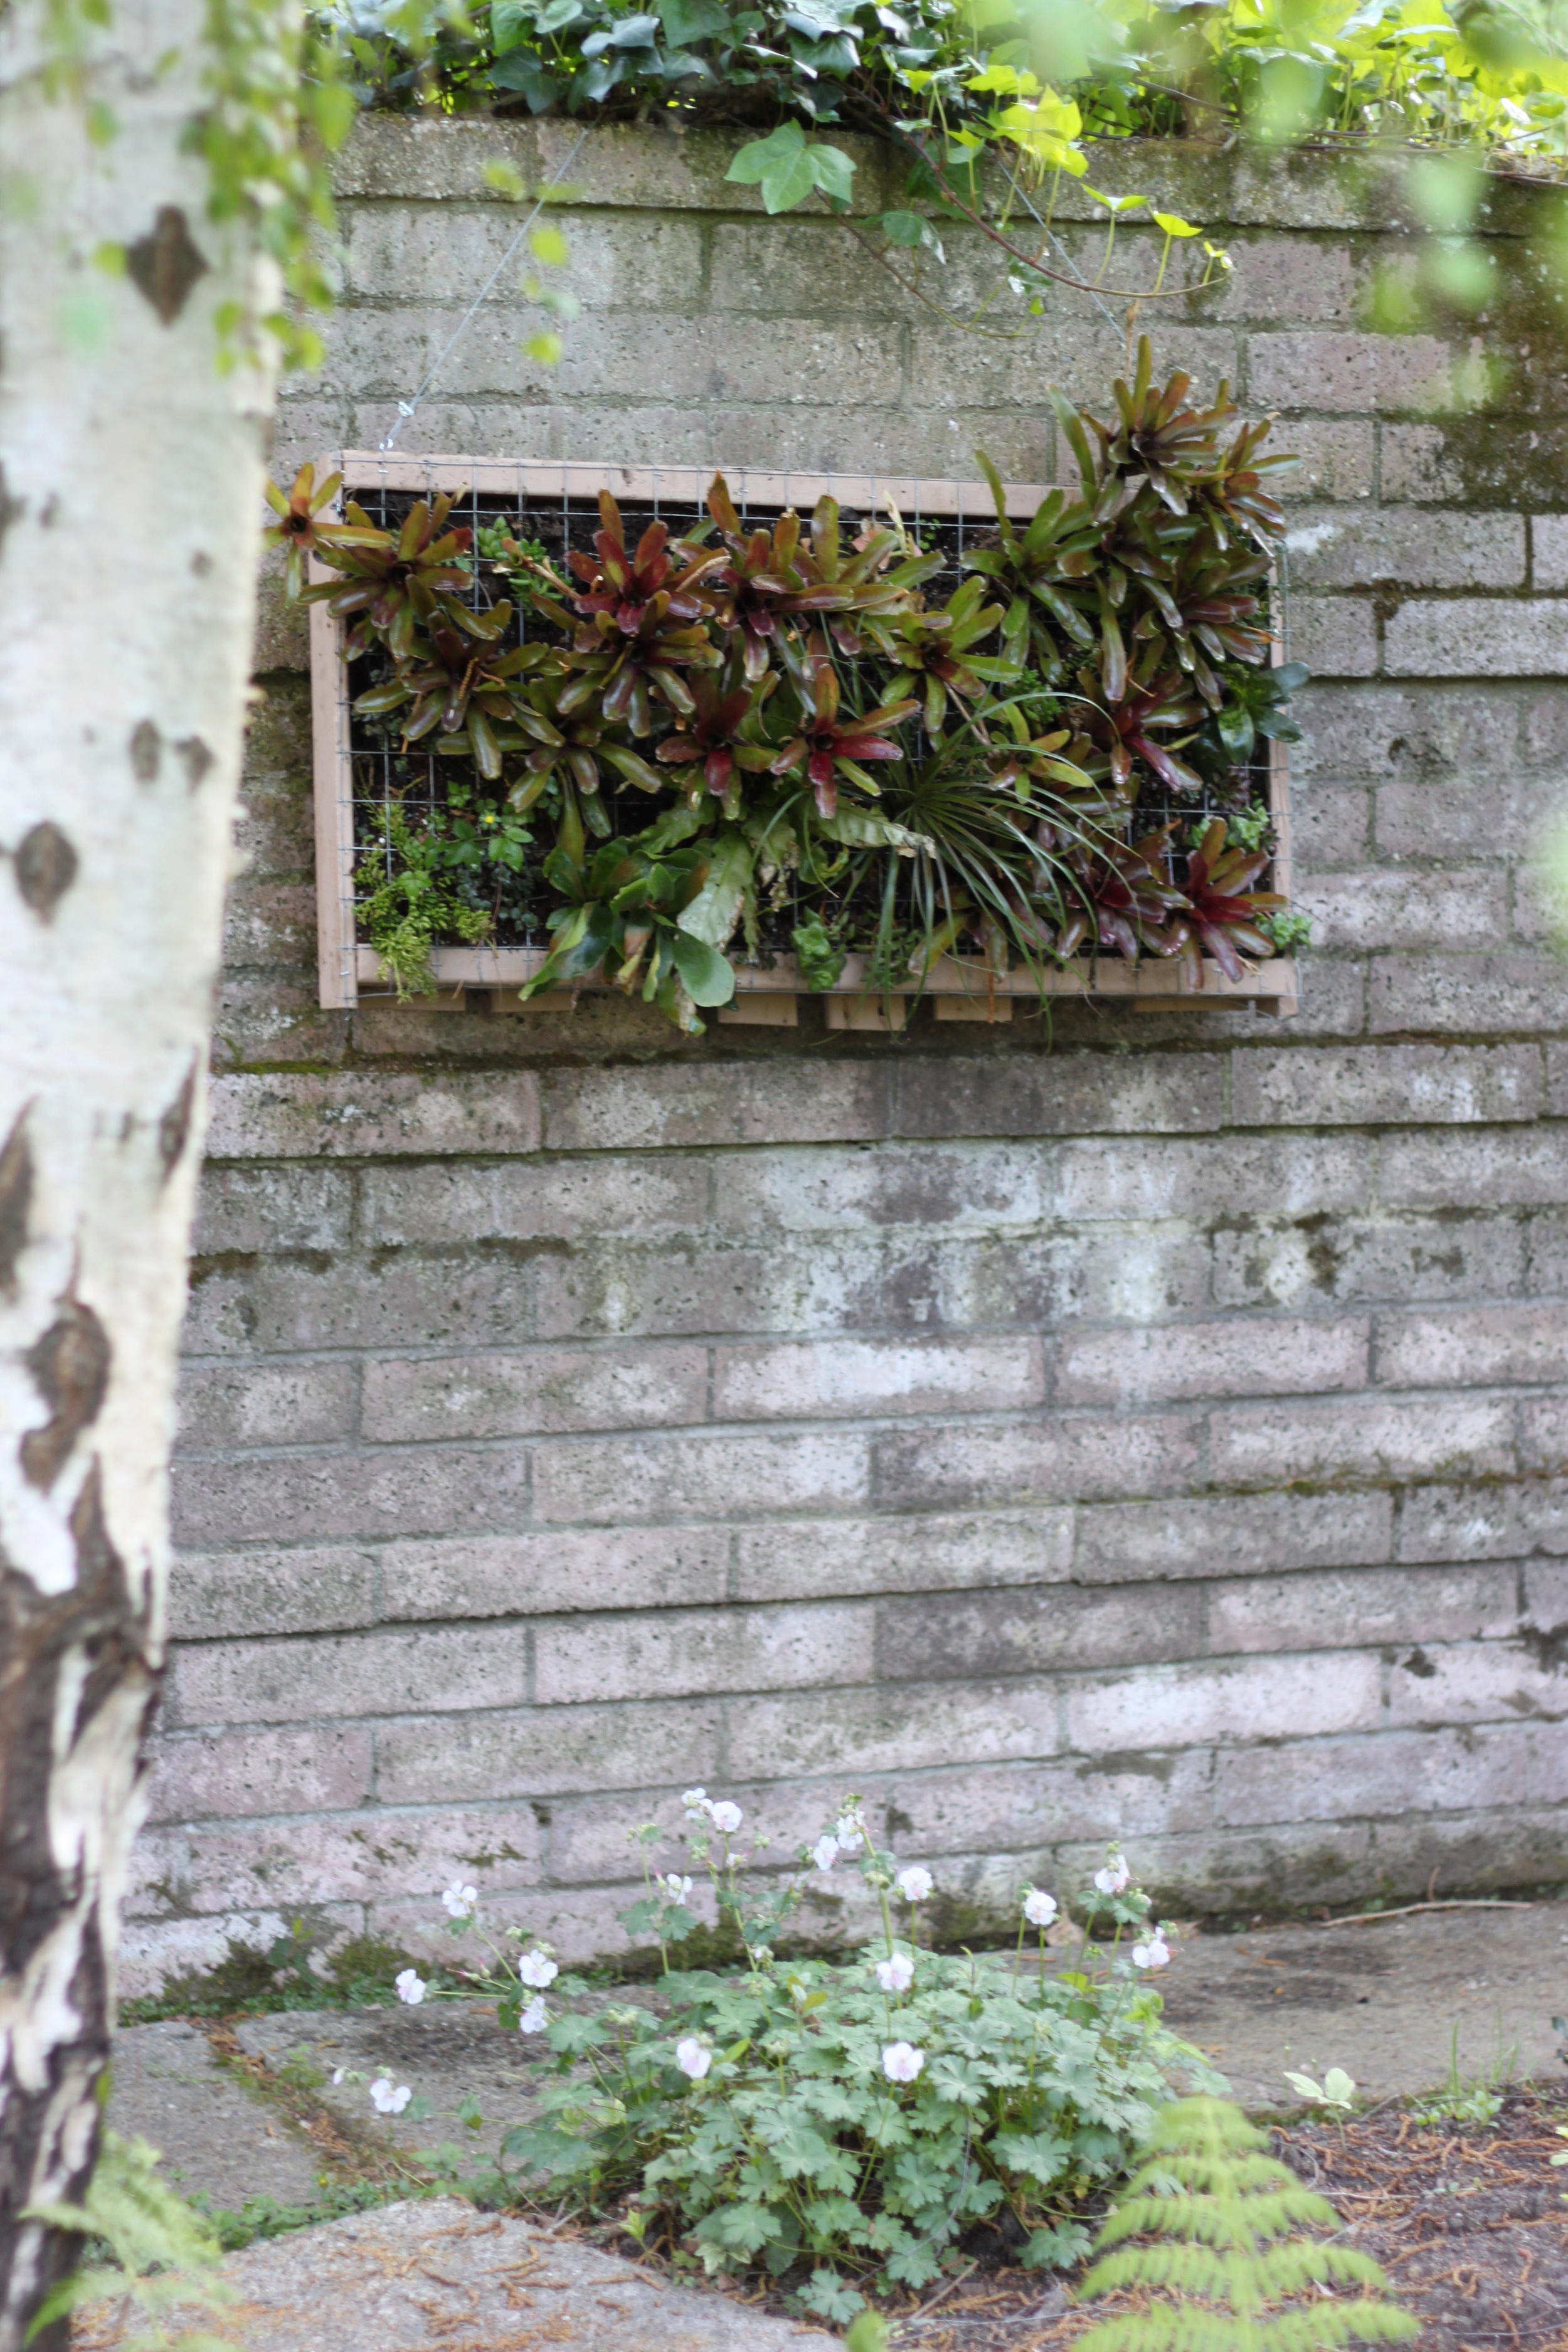
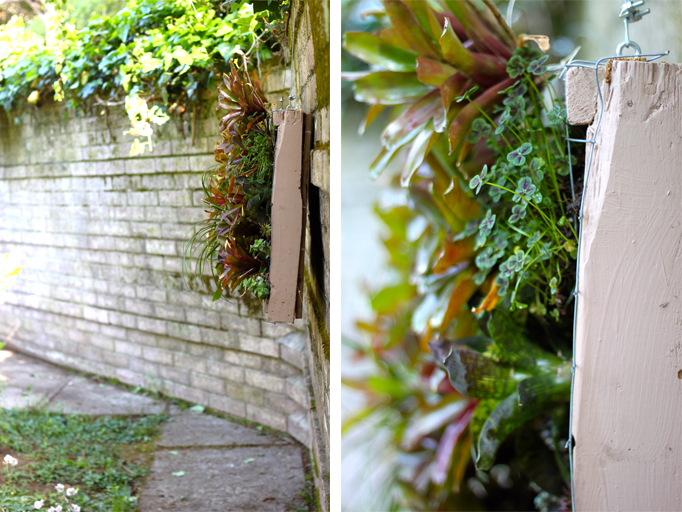
About a month ago, Alex and I (with the help of a visiting friend) constructed a vertical garden.  Using a free pallet from a local building supply place and just a few other elements, we were able to build a frame able to support soil and plant material.  Hung on a brick wall that encloses our garden, this addition gives it a new dimensional feel by introducing botanicals in an unexpected place.  Take a look at how it all came together and what you would need to create your very own vertical growing surface:

Supplies:  A pallet, a saw, wire cutters, staple gun, chicken wire, coco liner, small pieces of wood (or deconstructed flats for inner soil support), soil, plants appropriate for your climate, eye hooks and mirror wire for hanging purposes.

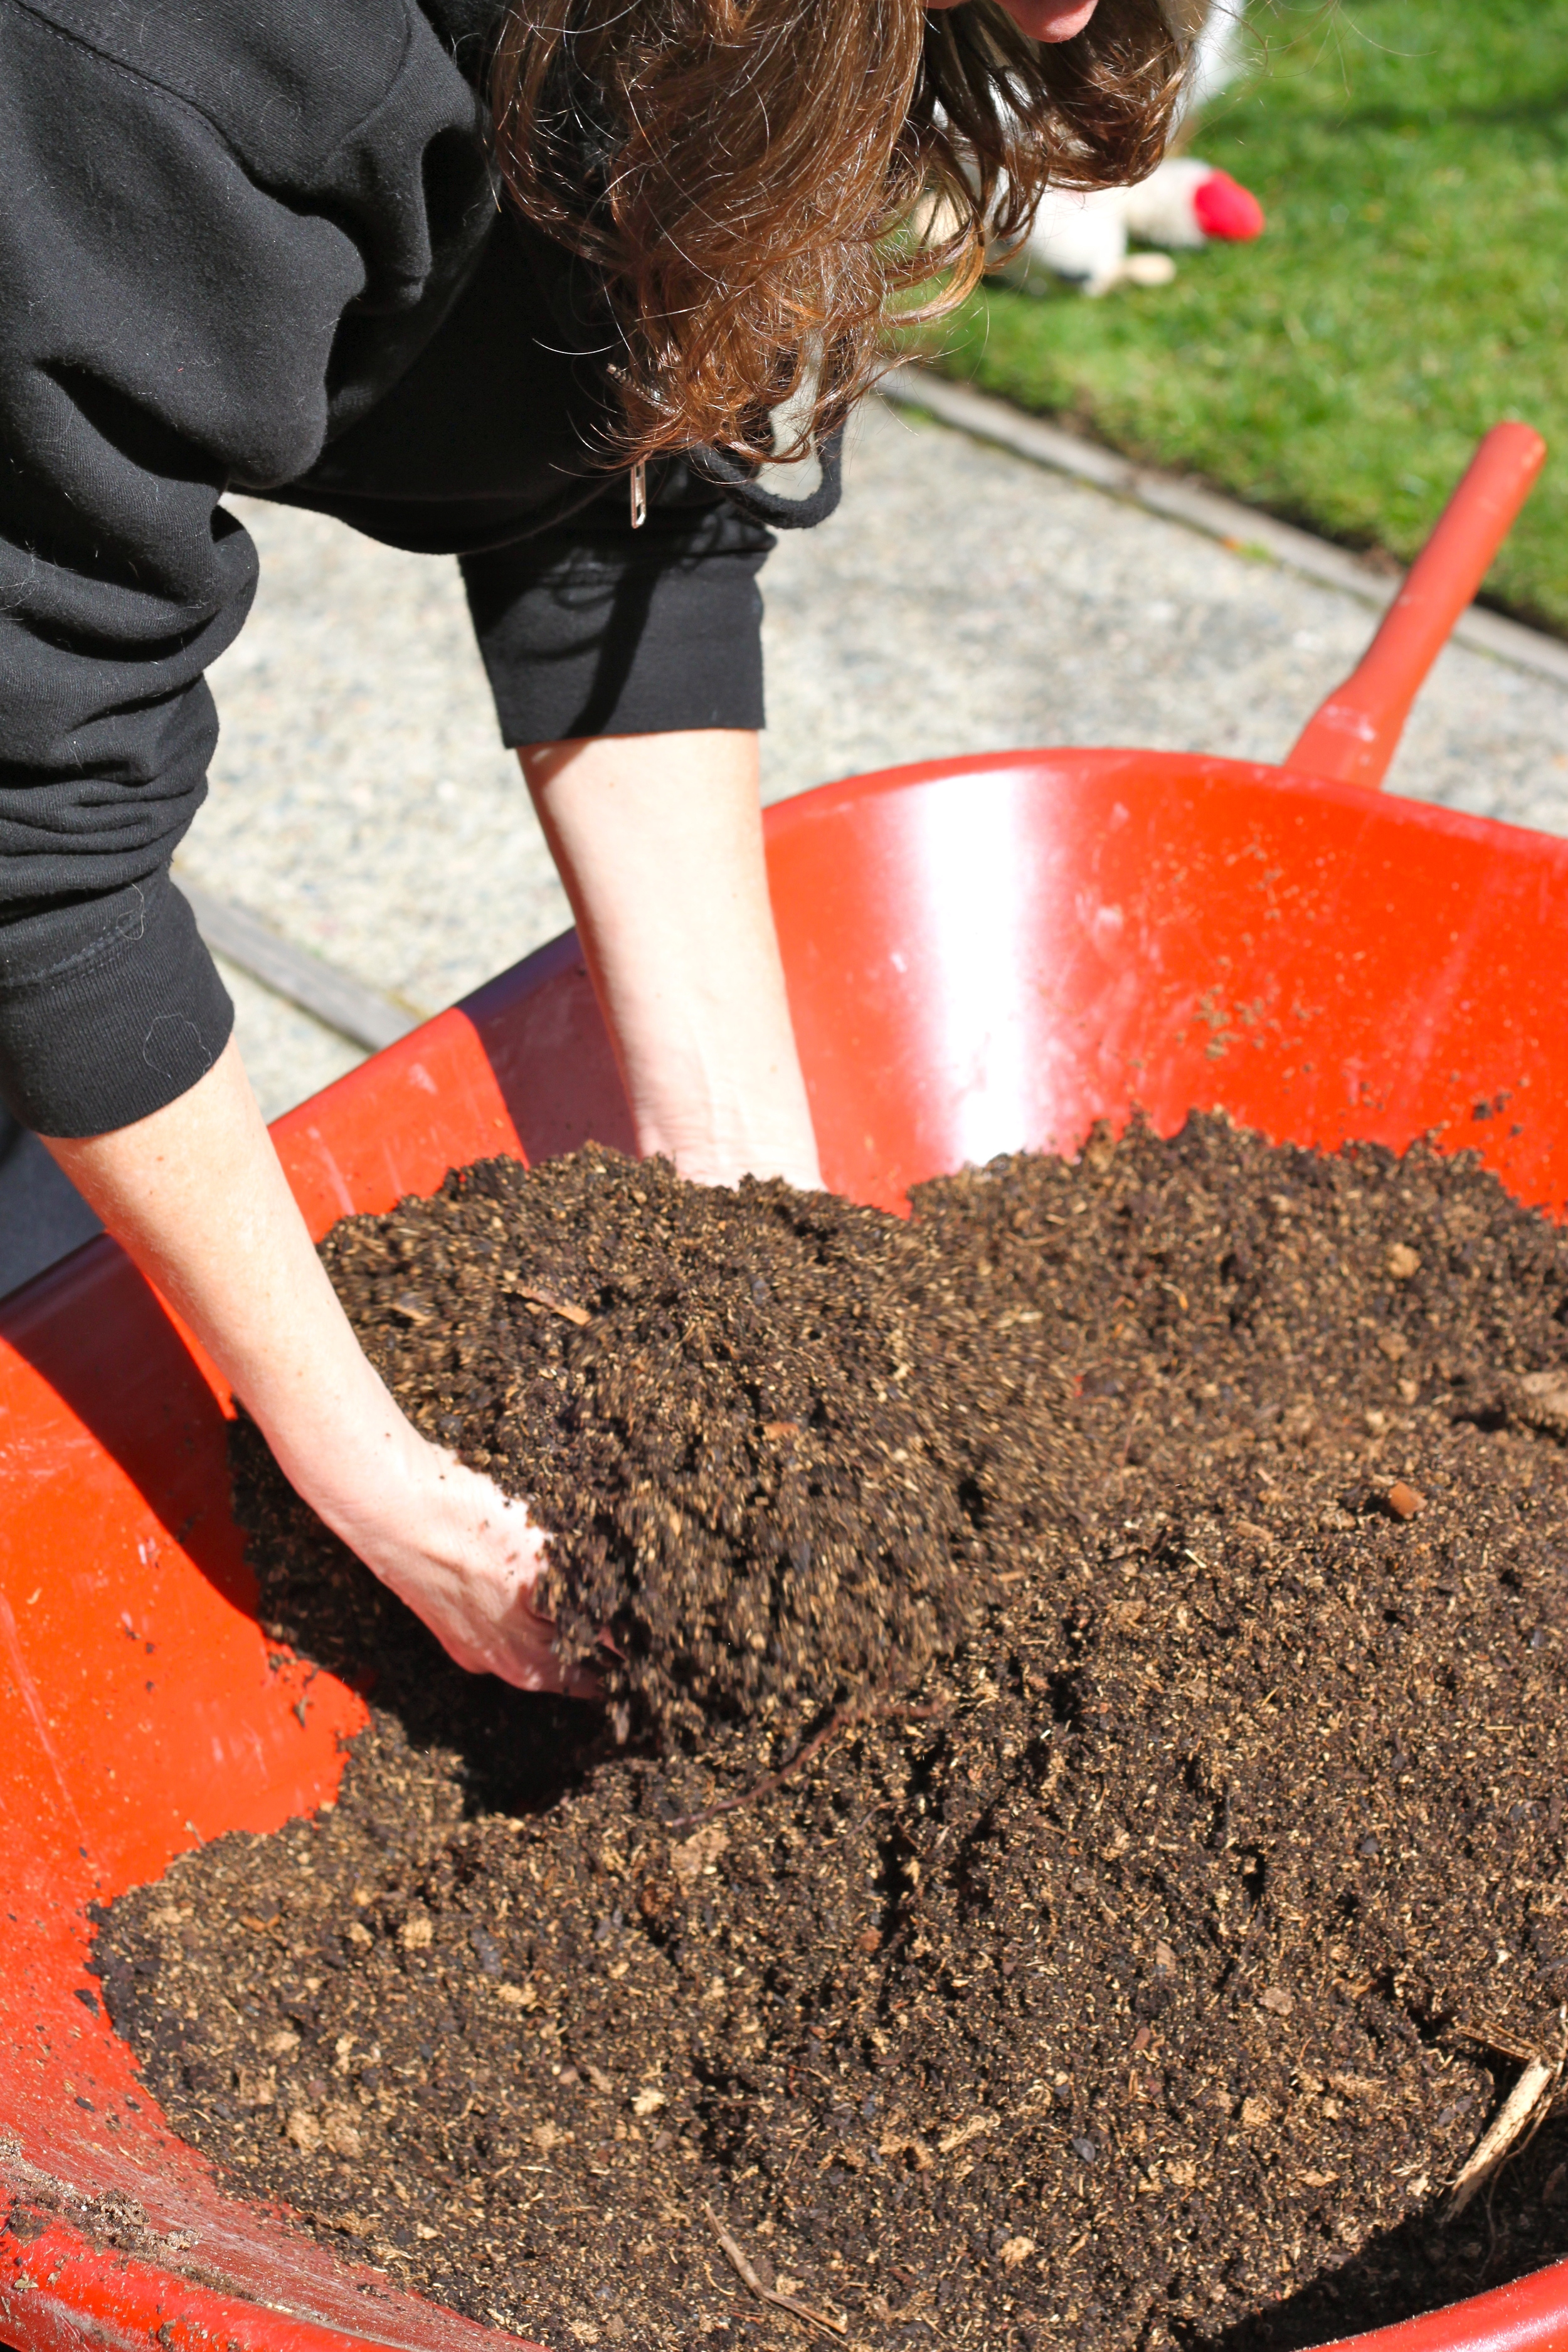
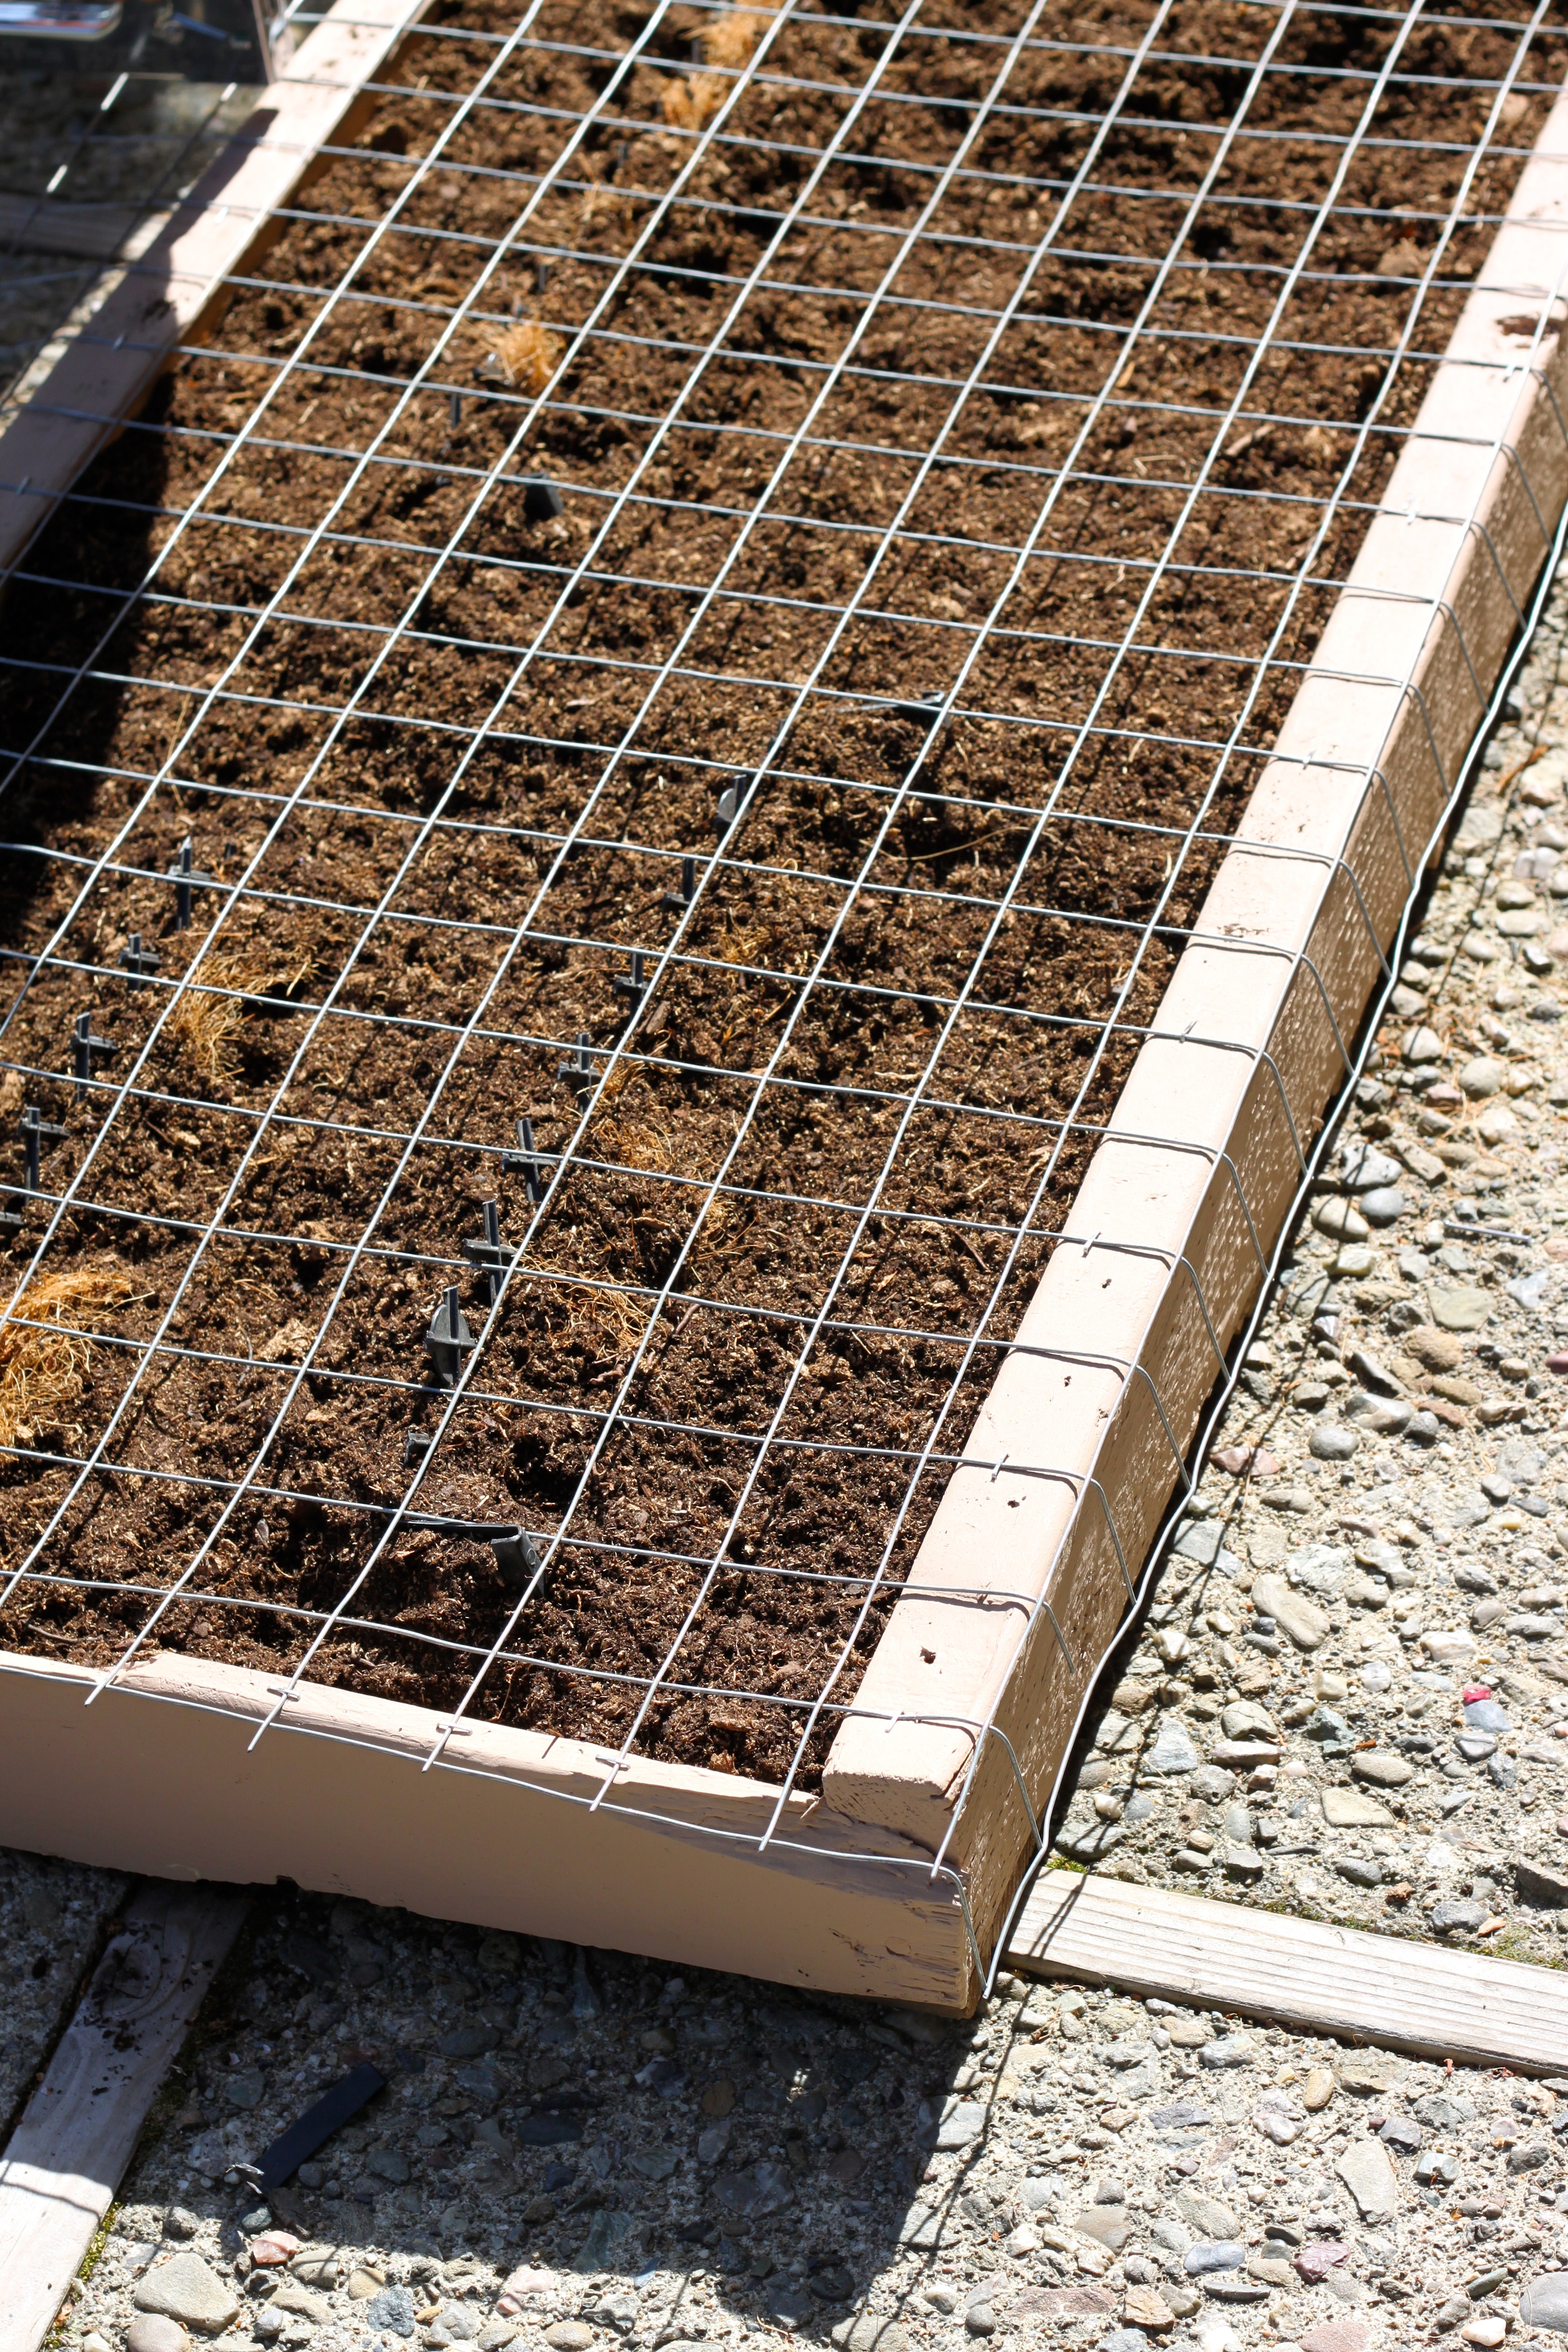
Cut and size pallet to desired measurements, keeping in mind the weight it will bear when finished.  Ours is 3' x 2'.  Staple a small gauged chicken wire onto its back and line with a coco liner.  Screw in eye hooks on back of frame.  Create shelves within the frame with either small pieces of wood or deconstructed flats to give the soil and plants a place to rest. Fill will soil and attach the  larger gauged wire onto the front of the pallet.   Depending  on the size of your botanicals, you may need to snip the top layer of wire to accommodate their root systems.  Fill the frame with your selected plants, water, and let rest for two or more weeks to give the plant material a chance to establish root systems.   Hang it up and enjoy!