
DIY Dreamcatcher Birthday Party
 The weekend before last, we celebrated Zoe's 7th birthday with a dream catching party. Each of her friends strung beads and hung feathers to create her very own dream catcher. With a bit a prep work you too can host a party like Zoe's. Depending on the age of your guests, more or less preparation may be required. I went ahead and prepared the rings by wrapping them in tape and weaving them with string. Separately, I also took leather strips and cords, and with Zoe's and Natalia's help, strung one bead at the end of them (to secure the ones the guests would later choose). Take a look below for the list of supplies and instructions on how to make it these creative party favors come to life:


Supplies:
5"metal rings, brown floral tape, waxed thread, leather strip remnants, glass, ceramic and wood beads, assorted feathers and cording in assorted colors.
Instructions: Prep the frame and strings.
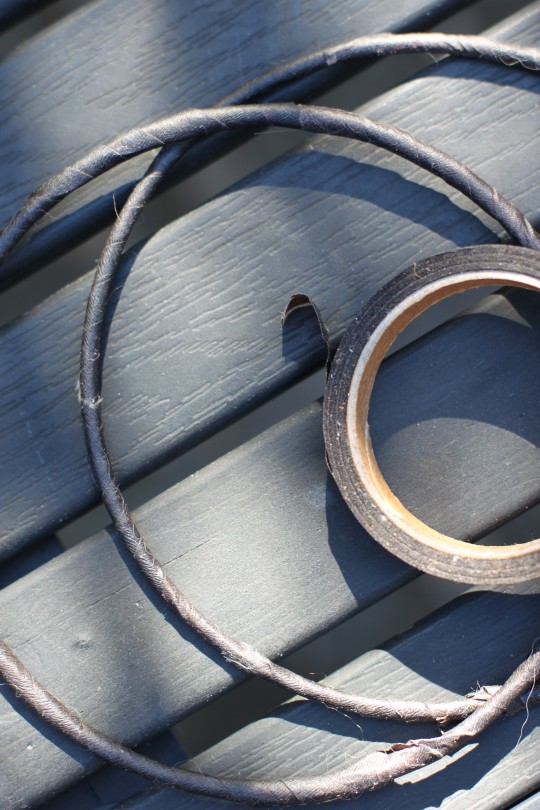
1. Wrap each metal ring with floral tape.
2. Weave the rings. I followed this You Tube video.
3. Prepare 5-7 leather strips and cording per guest and secured a bead on each end. This way your guests can add beads and attach feathers without anything falling off.
Party Setting:

1. Place one prepped ring at each seating.
2. Drape an assortment of 5-7 beaded leather strips and/or cording next to the rings.
3. Put a handful of asorted beads at each place setting.
4. Place a mixture of feathers in cups or small vases along the length of your table.
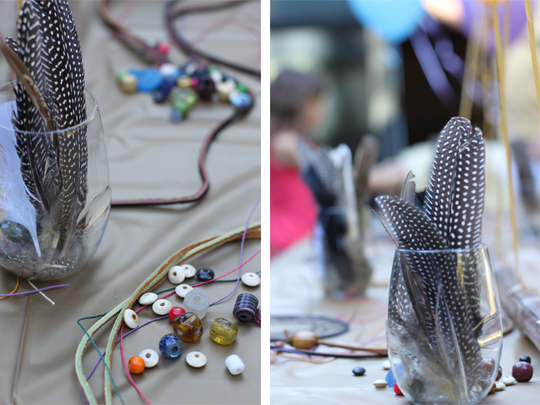
5. Have the children add beads and feathers to the beaded strings. The feathers can be pushed inside the bead holes or secured with floral tape.
6. Once the strands has been adorned, have your guests knot them onto the rings.
7. Voila!! And don't forget to explain how dreamcatchers came to be...

instagram ◈ twitter ◈ pinterest ◈ facebook
Debra Cass Szidon
Lover of layered neutrals, mixed patterns, contrasting textures and all things botanical. My creative energies pull me in many different directions but I’m most grounded as an interior decorator, handbag designer and mother. Cocoon Home blog is where I share my reflections on family, work and my creative journey.
All content and images are property of Cocoon Home unless otherwise noted. You are welcome to use images from the blog for noncommercial use, but please credit appropriately.

